The Basics: How to set up a Raspberry Pi (Linux)
Intro
Getting started with a Raspberry Pi on Linux is straightforward with no complicated setup, no proprietary software, just familiar command-line tools and a USB drive. This guide covers everything you need to get your Raspberry Pi up and running: installing the imaging tool, flashing the OS to a USB drive, and booting your Pi for the first time. Whether you're setting up for a home server project, IoT experimentation, or just exploring what a Raspberry Pi can do, this is your starting point.
Install Raspberry Pi Imager
If you are on a Linux distribution like Ubuntu for example, you most likely already have the Pi Imager installed on your system. You can check by using the following command:
rpi-imager --version
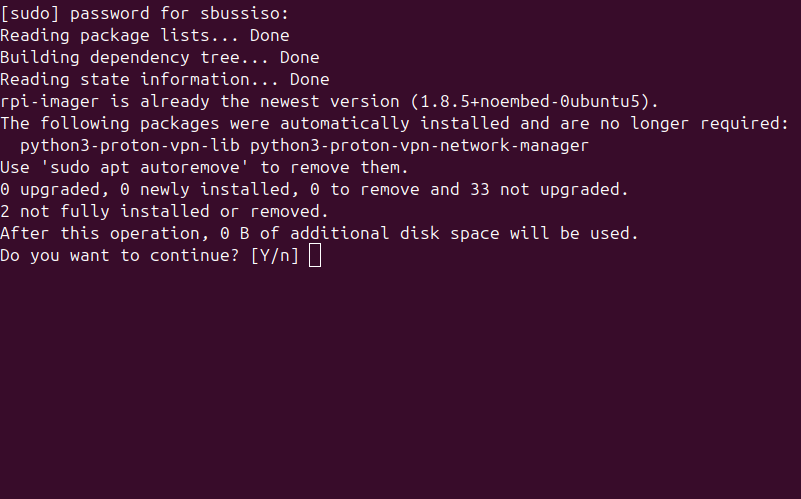
you should see something like “rpi-imager version 1.8.5“ and if so you can skip this step and go right to the USB Boot Setup. If you need the Raspberry Pi Imager installed on your system you can install it with the following command:
sudo apt install rpi-imager
You will need sudo permissions to install the Pi Imager and you will need to give confirmation.
Download permissions and confirmation
After this the Raspberry Pi Imager installation will begin and we will be able to boot Raspberry Pi devices with ease!
rpi-imager download
Extra tip: If you are on Ubuntu you can also install the Raspberry Pi Imager without even having to touch the command line. Just go to your “App Center“, then search for the “rpi-imager“ in the app store!
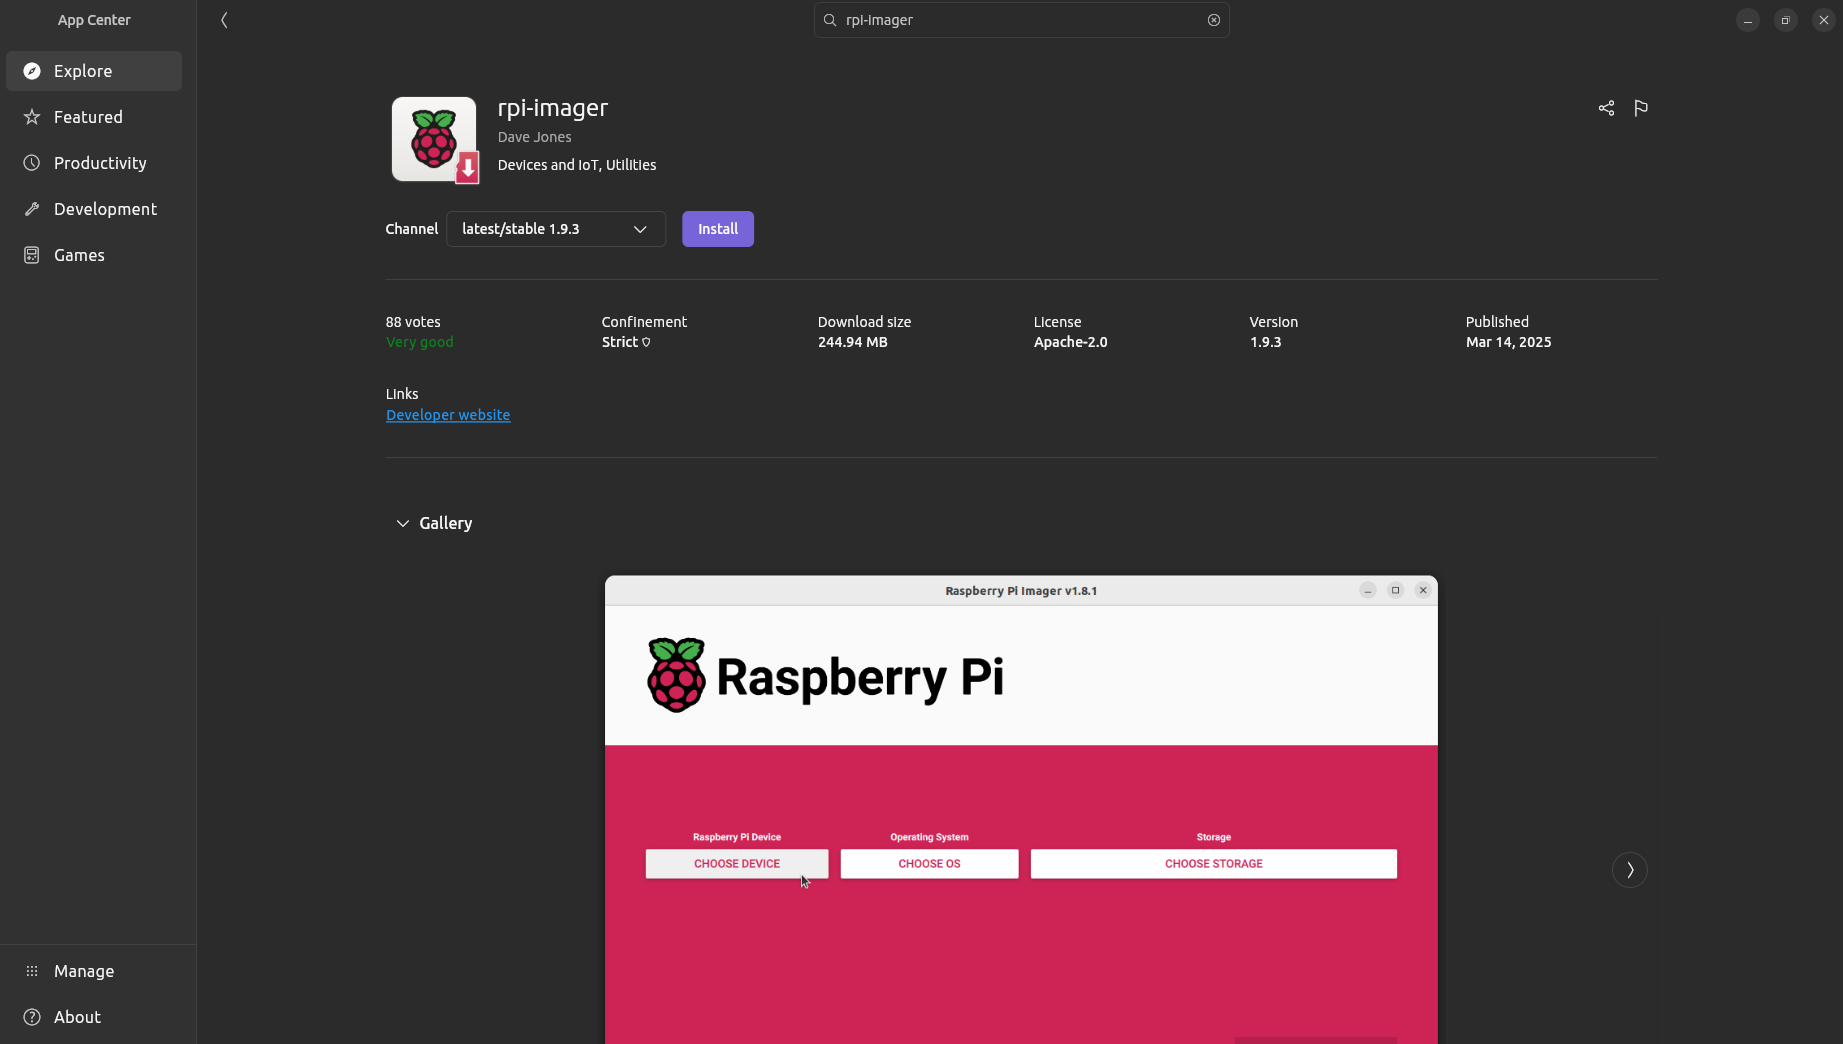
Ubuntu App Center
USB Boot Setup
Make sure you have a USB stick plugged into your computer and open your desktop terminal. Enter the following command and press enter:
rpi-imager
if you have the Raspberry Pi Imager and it is installed correctly you should see the GUI pop up shortly
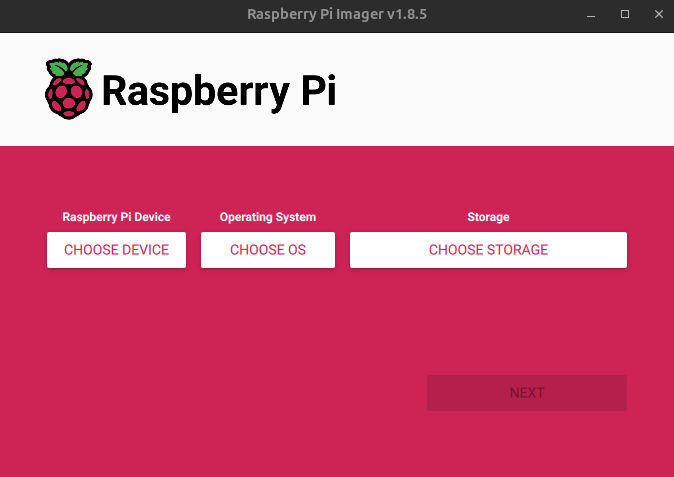
Initial Pi Imager screen
Now we need to choose our Raspberry Pi device. It needs to be the same device you actually have. For example if you have the Raspberry Pi 5 then you need to select that same exact device or there could be issues.
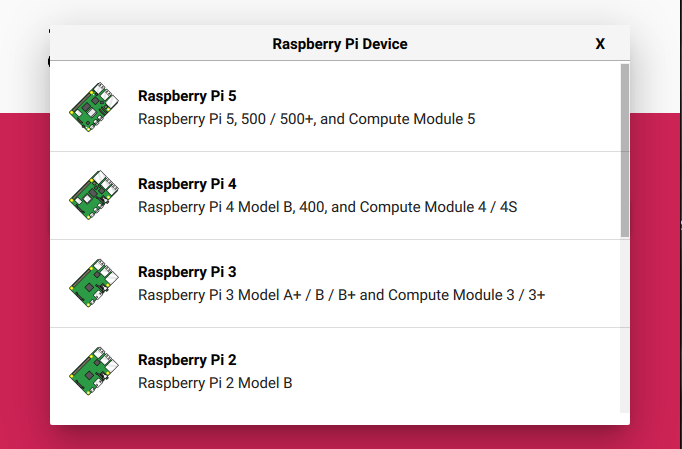
Device selection
Once we select our correct device, we now need to choose our operating system. The Raspberry Pi OS (64-bit) is the most commonly used and best option for most standard projects.
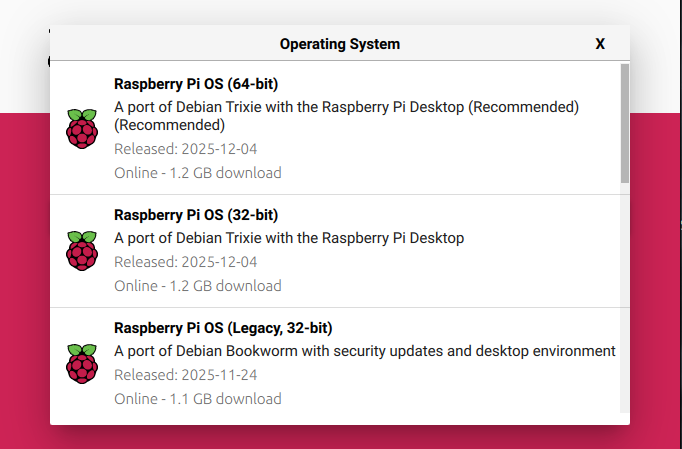
Operating System selection
Now we need to select our storage. Your USB device should show up here. make sure you don’t have anything important on this USB drive it will be wiped and formatted.
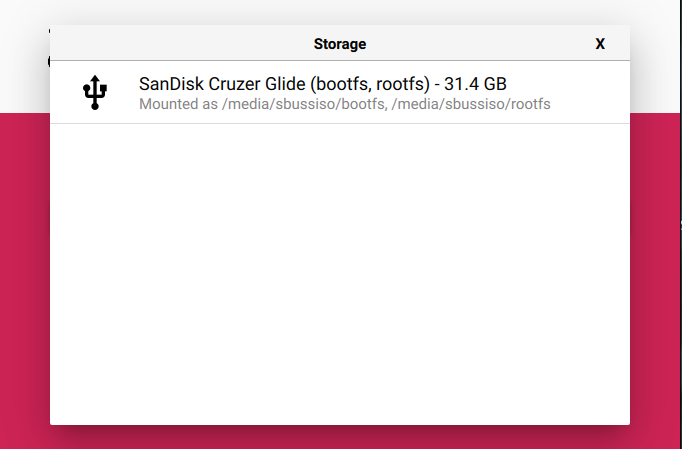
Storage selection
Now we are ready to press next. We will be prompted to apply OS customization settings but this is a simple tutorial and for most standard projects you do not have to so we will just press “NO“.
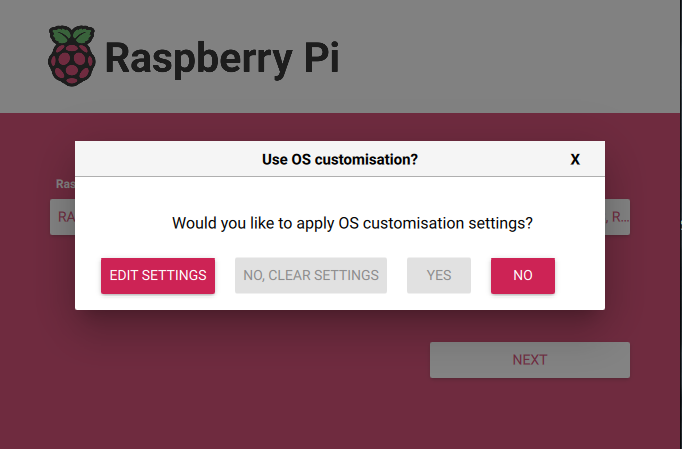
OS customization prompt
Next we will be prompted with a warning and we need to confirm we want to continue. It’s a warning saying all existing data on the USB will be erased. Make sure you do not have anything important on the USB and click “YES“ to continue.
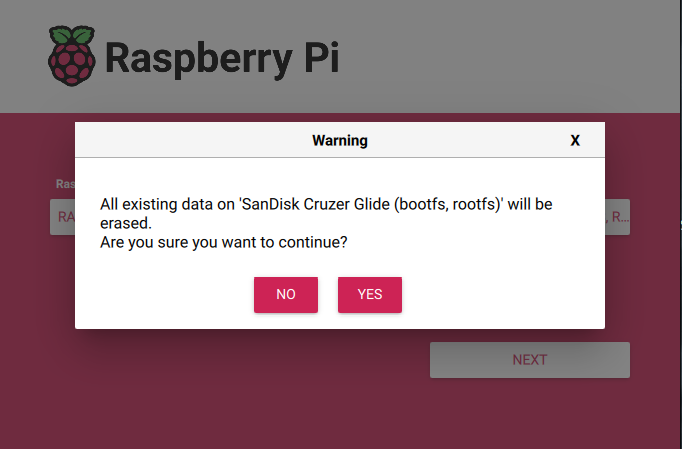
Disk warning prompt
Now The USB drive is officially being formatted and the OS is installing. This process may take a while. Once the OS is installed on the USB you can then plug it into your Raspberry Pi device.
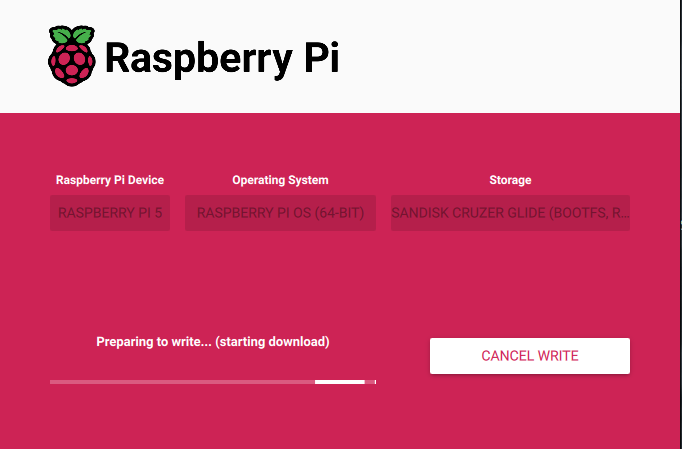
OS installation
Raspberry Pi First Time Setup
After plugging the USB into your Raspberry Pi and powering it on, the device will boot for the first time. This initial boot process typically takes 1-2 minutes as the system expands the filesystem and performs first-time setup tasks.
At first boot whats happening is the filesystem is being expanded to use the full USB drive capacity, services are being initialized, and Network interfaces are being configured.
Now that the Raspberry Pi is powered on and booted with the USB drive there are two main ways to connect:
A direct connection via a monitor and keyboard or SSH over the network.
For a first time setup if you have a spare keyboard and a spare Monitor or TV with an HDMI plugin port the direct connection method is easier so that is what we are doing in this tutorial.
Connect an HDMI cable from your Pi to a monitor
Plug in a USB keyboard (and mouse if you installed the desktop version)
You should see the boot sequence followed by a login prompt
Now you will be prompted to setup and customize your system. Follow the prompts, Choose the correct language, and time zone, etc.

Raspberry Pi OS
That's it! Your Raspberry Pi is now running with a fresh OS installation. From here, you can connect a monitor and keyboard to start exploring, or dive into our other tutorials for SSH configuration, security camera setups with OpenSentry, or other self-hosted projects. The beauty of the Raspberry Pi is that this simple setup process opens the door to countless possibilities! What you build next is entirely up to you.