Home Security Made Easy: How to set up OpenSentry on a Raspberry Pi
OpenSentry logo
Introduction
Home security cameras shouldn't require monthly subscriptions, cloud storage, or sending your video feeds to someone else's servers. OpenSentry is an open-source security camera system that runs entirely on your local network, giving you complete control over your surveillance infrastructure. Built on affordable Raspberry Pi hardware, OpenSentry consists of two main components: a centralized Command Center for monitoring and control, and Camera Nodes that handle the actual video capture. In this tutorial, you'll learn how to set up both components from scratch, creating a fully functional, privacy-respecting home security system that operates without any external dependencies. Whether you're monitoring a single room or planning a multi-camera setup, this guide will walk you through every step of the installation process.
Project Structure
First lets make the project structure clear. OpenSentry consists of two primary components. The first is the OpenSentry Command center and the second is the OpenSentry Camera Nodes.
The OpenSentry Command center is the main central application to the entire OpenSentry project. this is where you will connect, view, and control all of the OpenSentry Camera Nodes all in one centralized place. This means no matter what camera node you are using on your raspberry pi (more node options coming in the future) you must first have the command center up and running.
Because of this we will first walk through setting up the command center on a desktop computer but you can also set up the command center on the same (or a different) raspberry pi your camera node is running on.
You can easily get both the command center and the camera node at https://opensentry.fly.dev or get the repositories directly from GitHub which will be provided below.
Command Center Setup
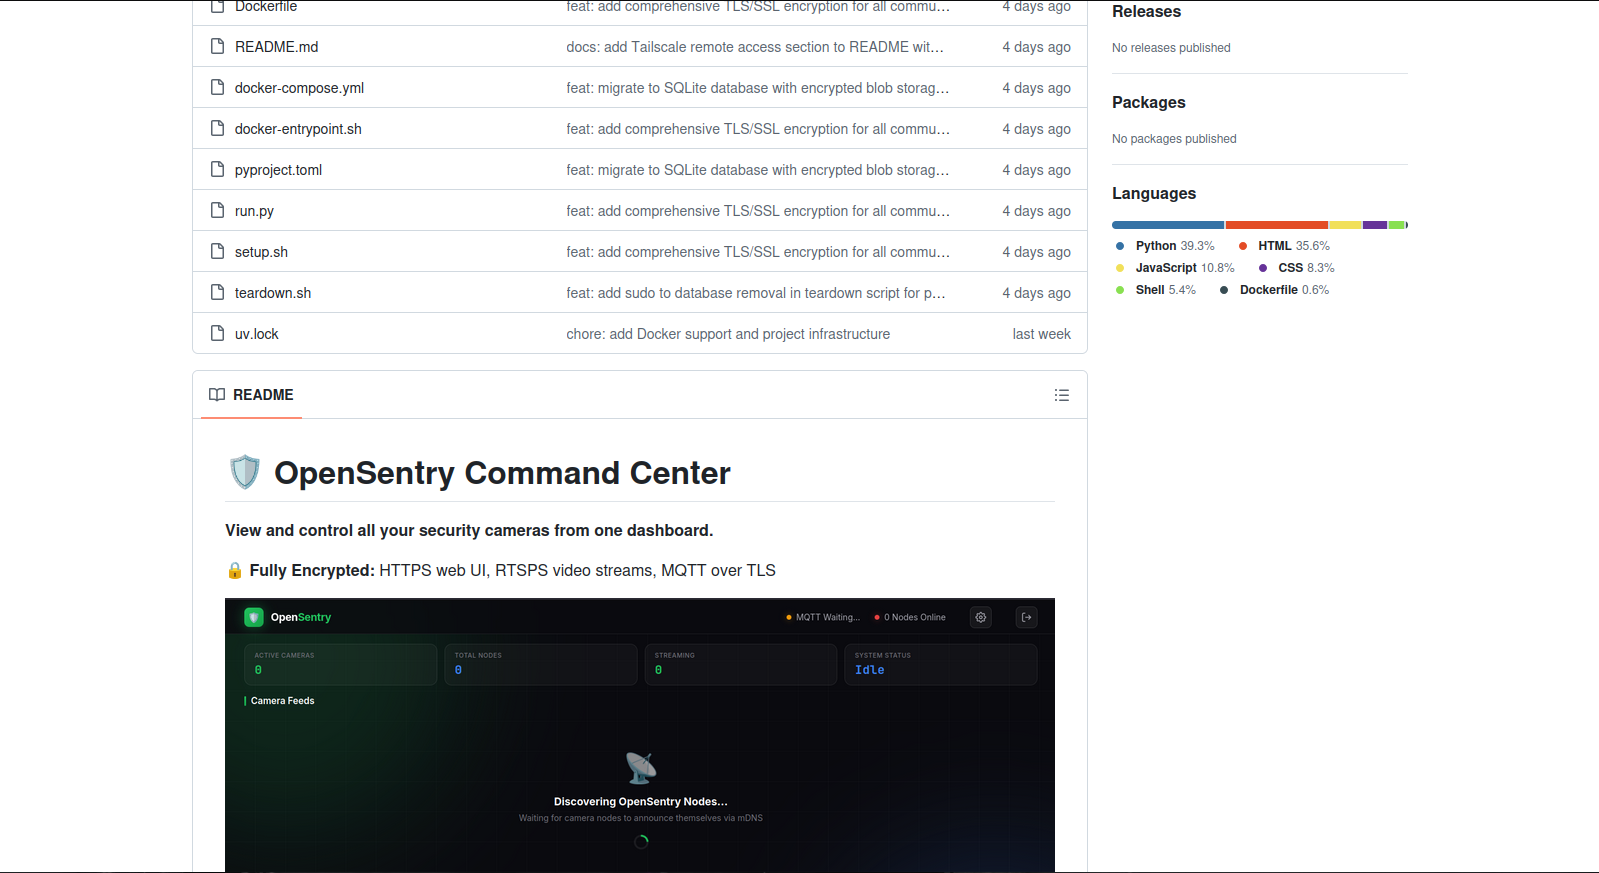
OpenSentry Command GitHub
First we need to get the repository which is located here
Once you have the repository we will on our desktop computer, open our terminal. Once our terminal is open we will past This command:
git clone https://github.com/SourceBox-LLC/OpenSentry-Command.git
cd OpenSentry-Command
Next, there is an included setup script “setup.sh“ that automates the rest of the setup. In the same project directory you just downloaded in the terminal type or paste the following and press enter:
chmod +x setup.sh && ./setup.sh
If successful you should see something like the following:
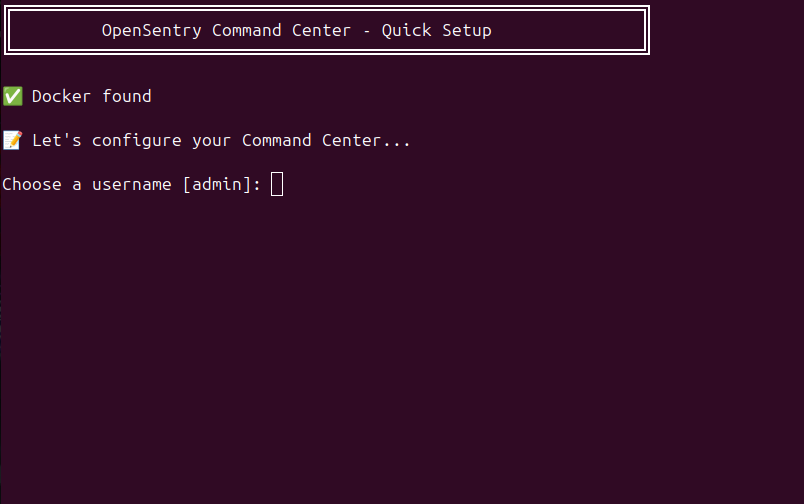
Setup script admin prompt
You can now create your username by typing in one yourself or just leaving this area blank and it will default to “admin“ for your username. It will then prompt you for a password and you need to enter a password with at least 8 characters or more and press enter.
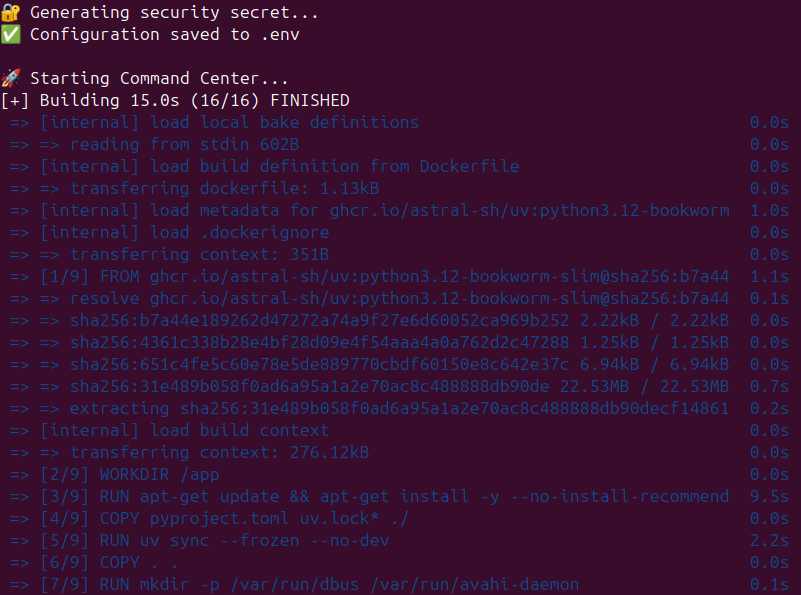
Setup script Docker build
If everything is working correctly the setup script will then configure the necessary secrets and build the necessary docker infrastructure.
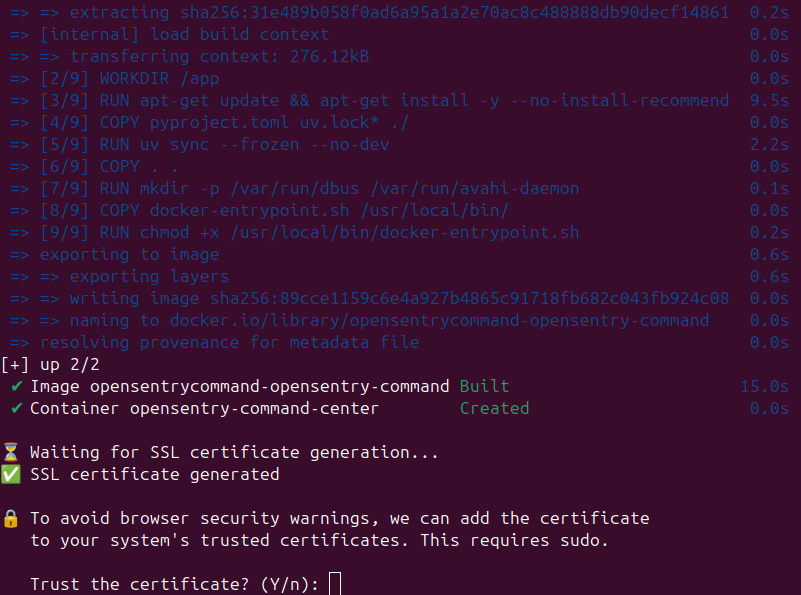
Setup script certificate prompt
In order to access the OpenSentry Command web UI securely via HTTPS you will be prompted “Trust the certificate?“. Enter “Y“ as in yes and press enter. This will finish the command center setup and if you were successful you will be able to view your command center.
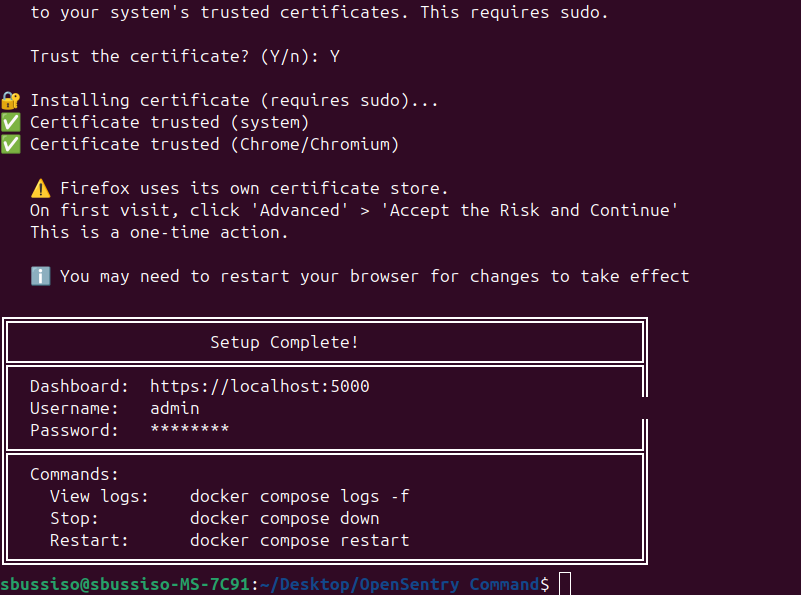
OpenSentry Command setup complete
Now that our command center is up and running we can actually view it at at https://localhost:5000
Important Note: If you are using firefox or some other browser you might see a “Warning: Potential Security Risk Ahead“ or something of the sort. Your browser just dosent like the self signed certificate but you are encrypted with an HTTPS connection so you can simply click “advanced“ and then “Accept the Risk and Continue“, Firefox should ignore it from now on.
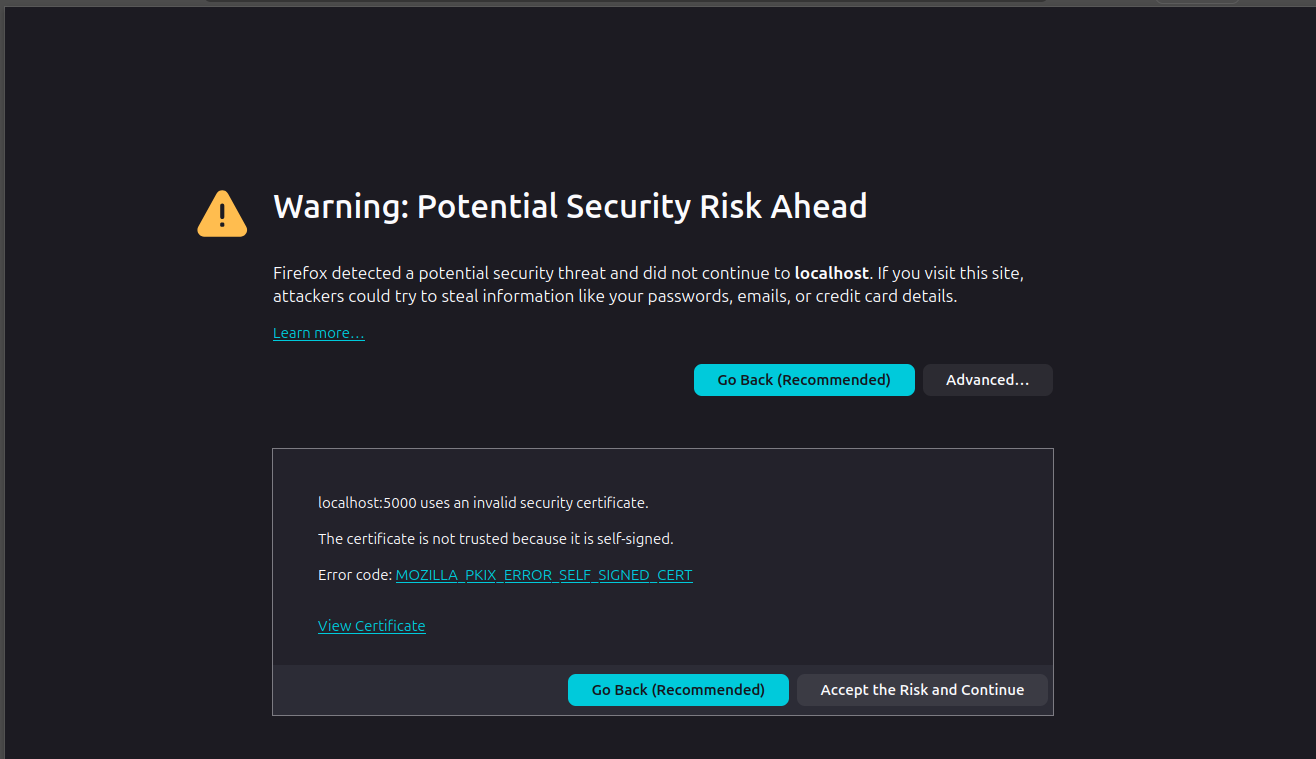
Firefox cert flag warning
Now that we officially set up OpenSentry Command. We need to actually log in. Once we log in we will have to go to settings and grab our private OpenSentry Key. This key is randomly generated on creation and is what we need to finally set up our OpenSentry Camera Nodes. Each node will require this key on setup or the nodes will not be able to connect to the OpenSentry Command center.
Here we will log in using our username either “admin“ or whatever you set it to and whatever 8 character or more password we set.
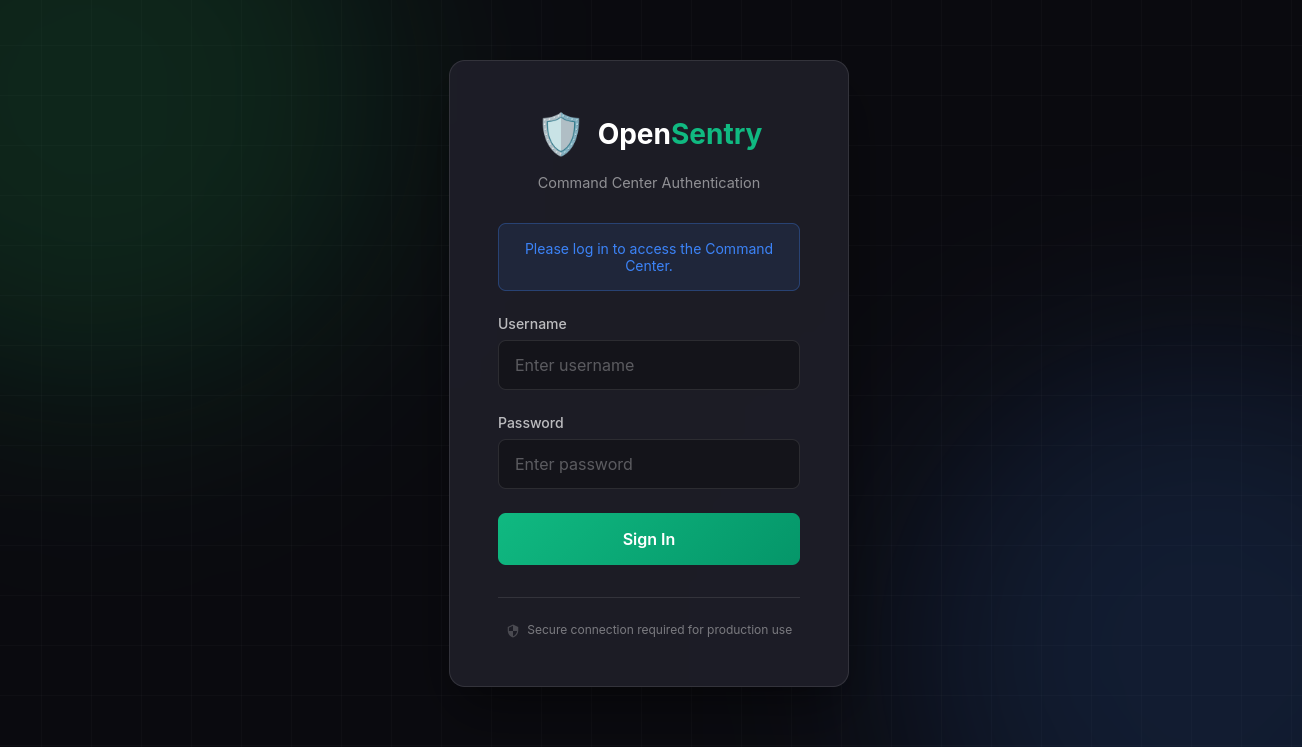
OpenSentry Command login
Once logged in you will see the command center trying to find any camera nodes on our network. It will not find any because none have been set up yet. From here we need to click the settings button in the top right corner. This will take us to the settings page.
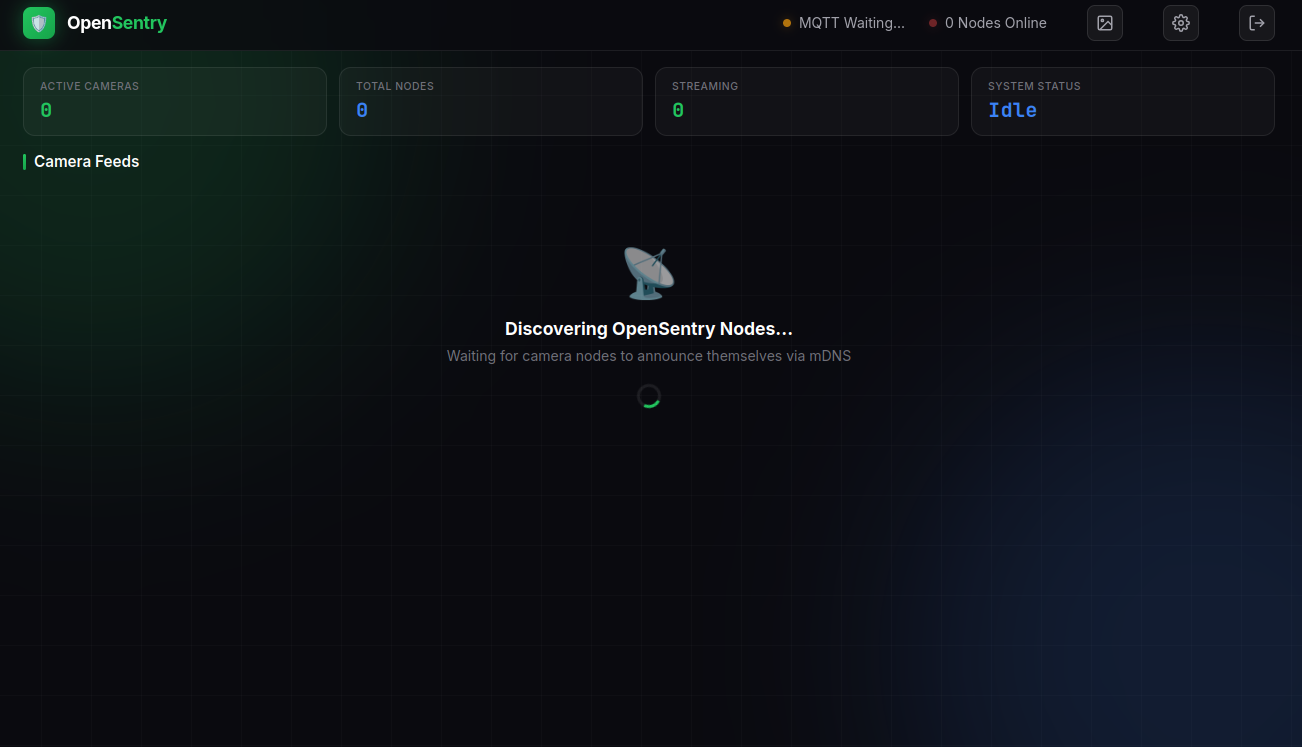
OpenSentry Command dashboard
Once we are in the settings page you will see a few sections. The “Security Secret“ section is where we can view, copy, and regenerate our command center key. The “Current Configuration“ section is just some basic info about your setup. The “User Management“ section is a place to add, delete, and manage other users. For this tutorial we only care about the key from the “security secret” section.
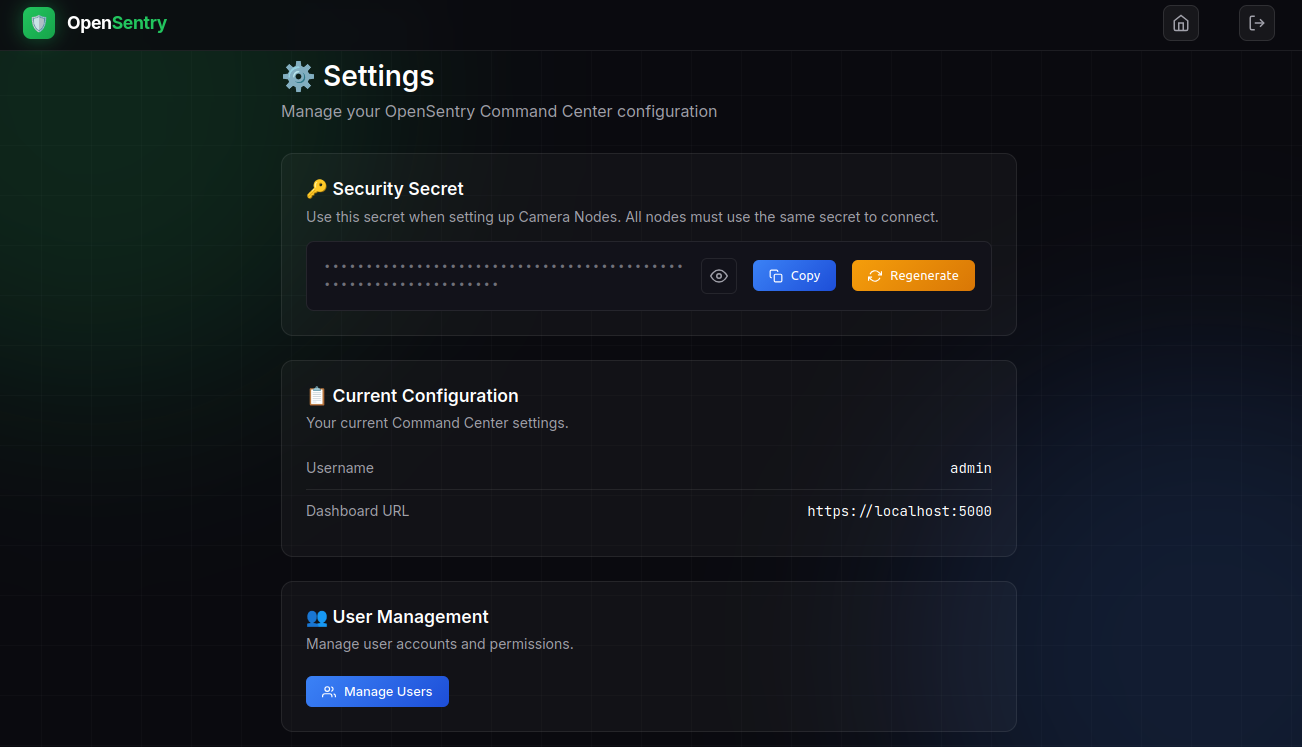
OpenSentry Command settings
Now that we have our command center key we can now finally move on to setting up a camera node on our Raspberry Pi!
OpenSentry Camera Node Setup
Now that we have our command center up and running and we have our secret key we can finally set up a node on a Raspberry Pi.
Important Node: This tutorial assumes you already have the Raspberry Pi device itself already set up and running. This tutorial is being made with the Raspberry Pi 4B model. This or a Raspberry Pi 5 model is the recommended Pi model for this project.
First things first we need to open a terminal on our Raspberry Pi device and download the OpenSentry Camera Node
git clone https://github.com/SourceBox-LLC/OpenSentry-Node.git
cd OpenSentry-Node
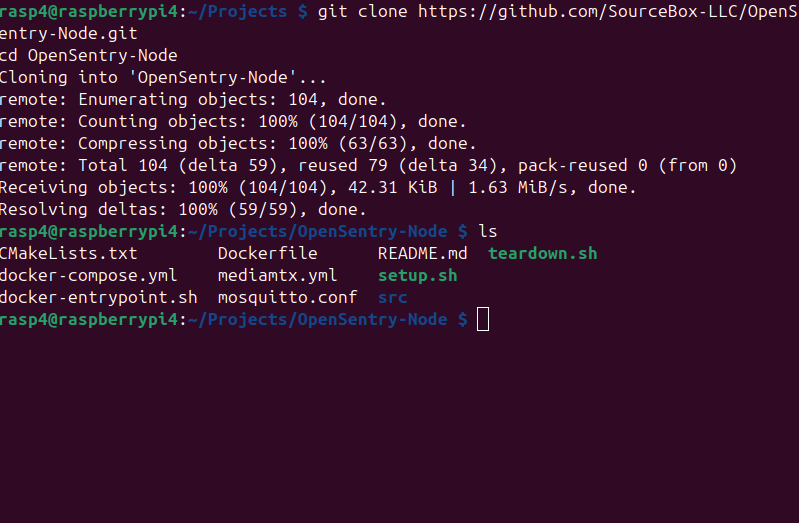
OpenSentry Node download
Now that we are in our Raspberry Pi terminal and just downloaded the project we can now use the quick and easy setup script called “setup.sh“ just like we did when setting up our command center. If done correctly the setup script should start.
Here is the following command again:
chmod +x setup.sh && ./setup.sh
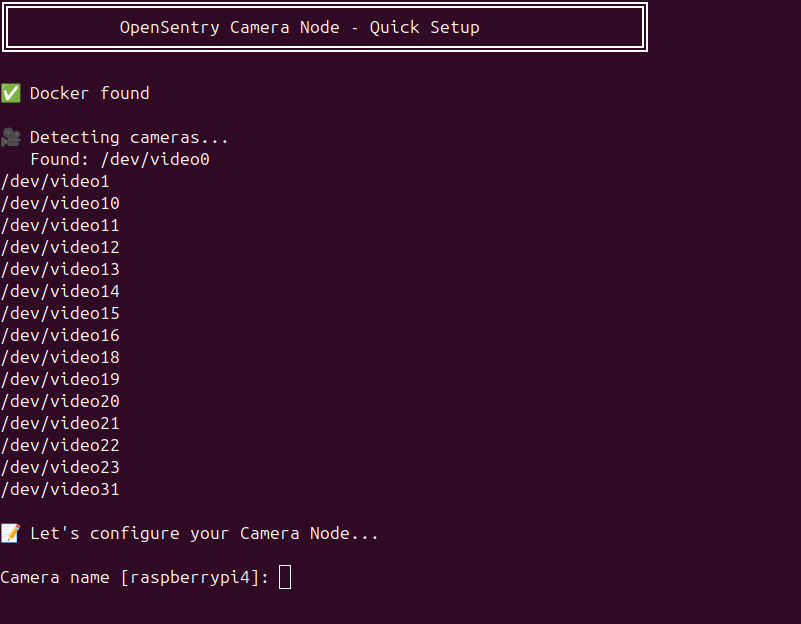
Node setup camera name prompt
Important Note: You must have a camera device connected to the raspberry pi, it can be either a camera module or a simple USB plugin either will work fine.
Now what is happening is the setup script is automatically finding your USB or Pi module camera. We need to now give our camera a name (or leave it blank for default device name) and press enter. We will then e prompted for a “Camera device“ which is the location of your camera on your device. Just leave this blank and the script will use the default camera it found. Then press enter.
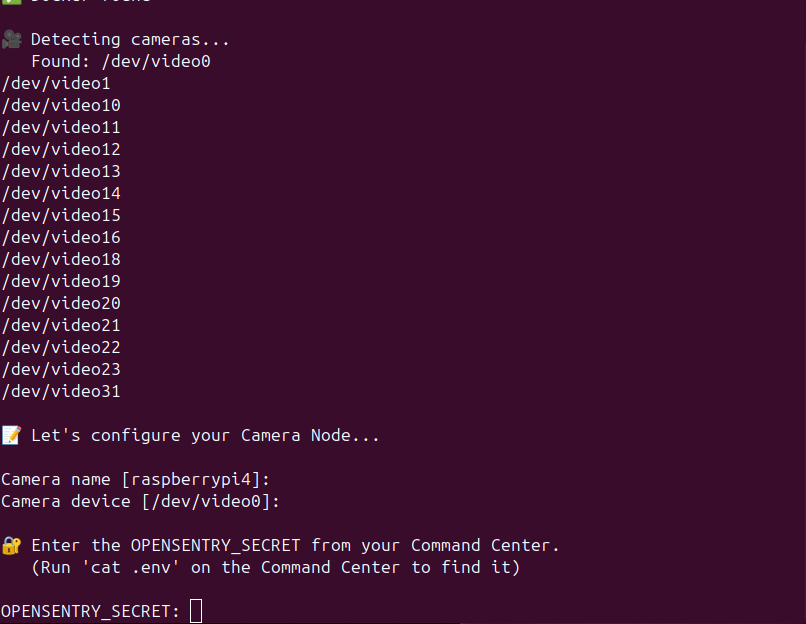
OpenSentry Node secret input
Now this part is absolutely critical! the camera node setup script will now ask you for your “OPENSENTRY_SECRET“. This secret is the secret key from the OpenSentry Command center. If you have not already go back to the command center settings tab and copy the key and paste it here, then press enter. The setup script will take the rest from here!
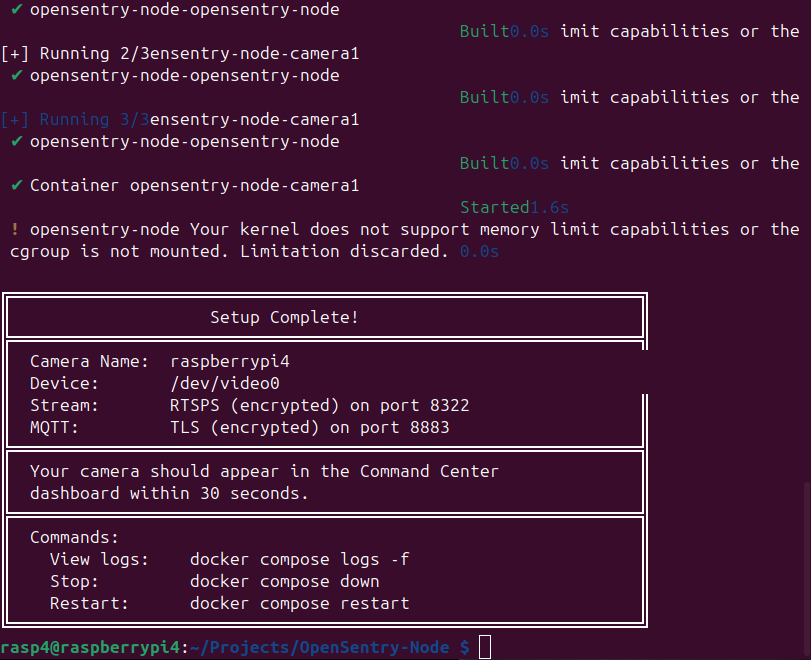
OpenSentry Node setup confirmation
Now We have Officially set up both our OpenSentry Command center and OpenSentry Camera Node! In terms of setup this is pretty much it. Now the command center and the node will automatically find each other and connect safely and securely operating entirely on your local private network! We can verify this by simply returning to our command center web UI in which we will return to a video stream with camera controls.
Conclusion
You've now successfully deployed a complete OpenSentry security system with a Command Center and at least one Camera Node. Your setup is running entirely on your local network with end-to-end encryption, giving you real-time video monitoring without relying on cloud services or monthly fees.
From here, you can expand your system by adding more Camera Nodes to cover additional areas. Each one follows the same simple setup process and connects automatically to your Command Center using the shared secret key.
The beauty of OpenSentry is its flexibility: scale it to fit your needs, customize it as requirements change, and maintain complete ownership of your security footage.
For additional features, troubleshooting, or to contribute to the project, visit the OpenSentry repositories on GitHub or check out the project website at https://opensentry.fly.dev.
For more projects and info about us visit https://www.sourceboxai.com.