The Basics: How to install and use OpenCode (Linux)
OpenCode Terminal Session
Intro
AI powered coding assistants are transforming how developers work, but most require expensive subscriptions or send your code to cloud services. OpenCode brings AI coding capabilities directly to your terminal with support for multiple LLM providers including local models via Ollama.
Whether you want to use cutting edge commercial models or run everything locally for complete privacy, OpenCode gives you the flexibility to choose. This guide walks you through installing OpenCode on Linux, connecting it to an AI provider, and building your first AI-generated application.
From setup to deployment, you'll see how an AI coding agent can accelerate your development workflow while keeping you in complete control. This tutorial assumes you have Python 3 and pip installed
Installing OpenCode
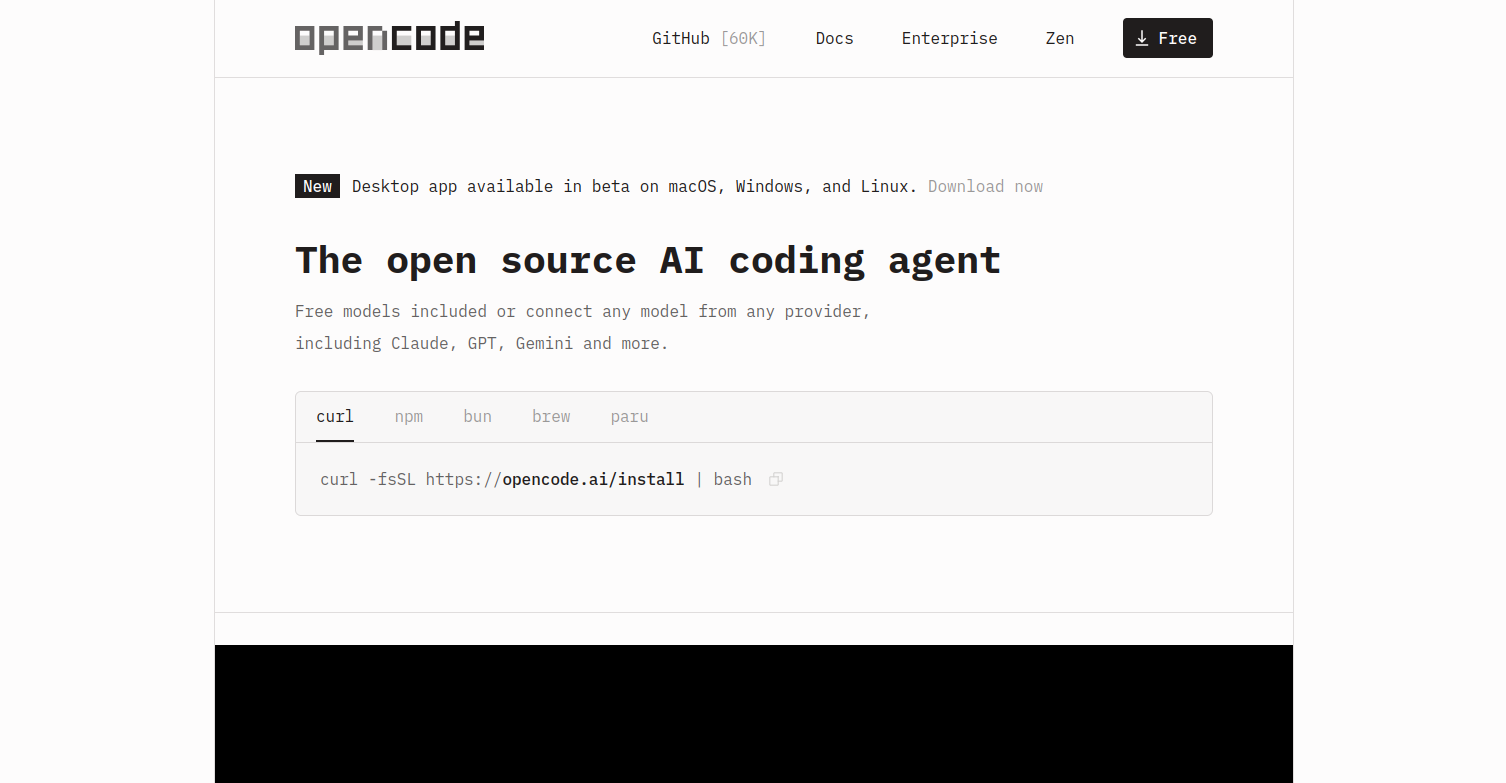
First we are going to go to the OpenCode website. This is where we will get our download instructions for Linux.
You can access the OpenCode website through this link here: https://opencode.ai
OpenCode website
Now that we made it to the website we are now going to use the provided curl command the website provides. We will open a terminal and paste the command as shown on the site:
curl -fsSL https://opencode.ai/install | bash
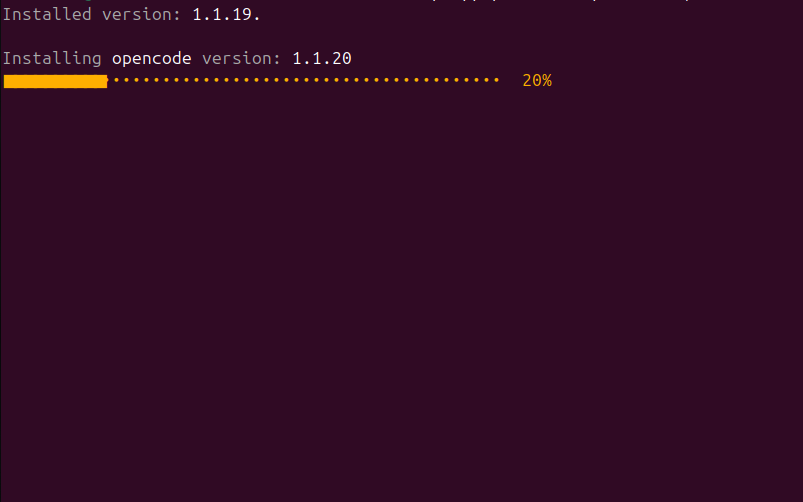
OpenCode terminal installation
OpenCode is now beginning to install locally on our system. This should not take very long. Once this is downloaded you will get confirmation, it should show the OpenCode logo in the terminal with a link to the docs when it finishes correctly.
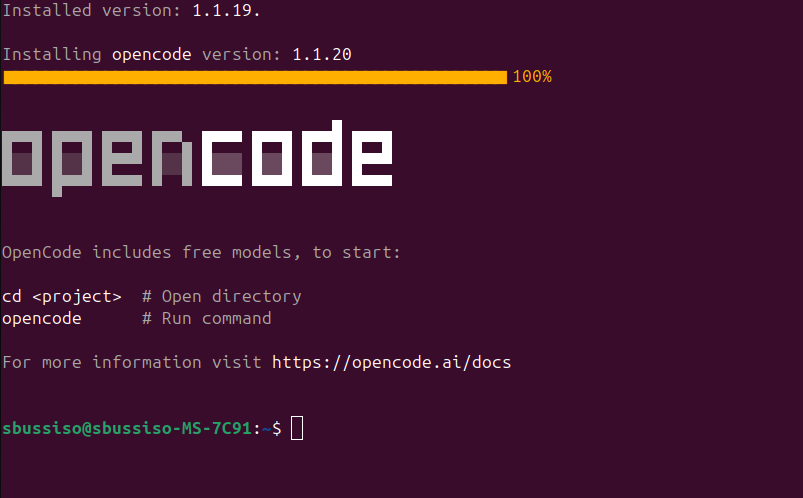
OpenCode install complete
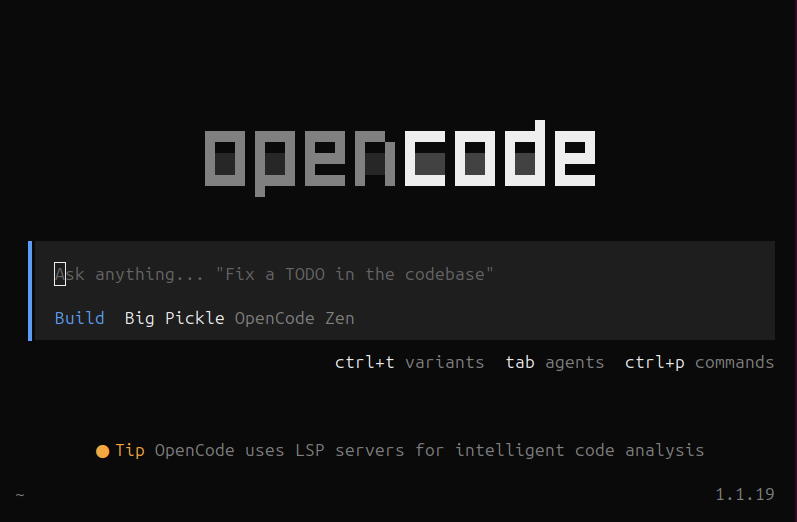
We can now access OpenCode by simply opening a terminal and typing “opencode“ then pressing enter. Now lets verify to make sure OpenCode is downloaded correctly and working.
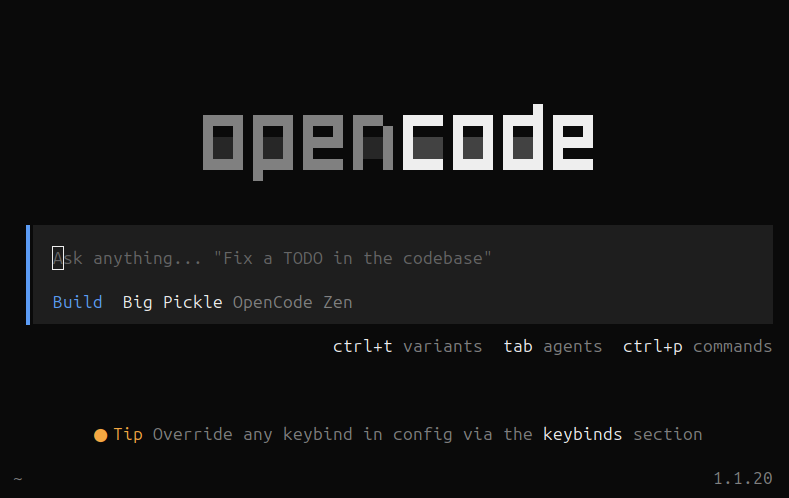
OpenCode terminal UI
Setting Up OpenCode
Now that we have OpenCode installed we need to actually configure it. With OpenCode you can use any LLM provider by configuring their API keys. You can also use local AI models via Ollama if you have Ollama and do not want to get an API key.
We are going to configure OpenCode by typing “/connect“ to connect OpenCode to a provider of some kind.
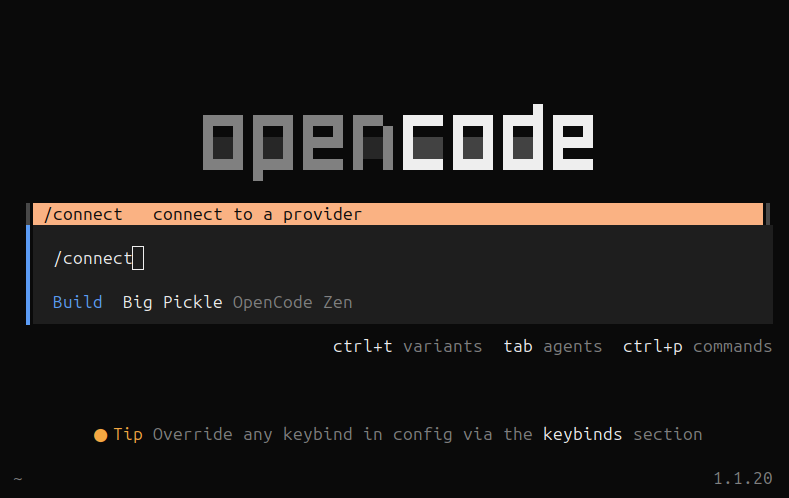
OpenCode “/connect” command
Now as you can see we have some options to connect. The OpenCode documentation suggests using the “OpenCode Zen“ option for beginners who are new to using LLM providers but we can use our own API keys from other services such as OpenAI, Anthropic, Github Copilot, etc.
The reason why this is recommended for beginners is because there are a lot of model options to choose from but only some of them actually perform well as coding agents. OpenCode Zen is a list of tested and verified models provided by the OpenCode team.
It’s also important to note that OpenCode Zen is in beta. We are going to be using Zen for this tutorial.
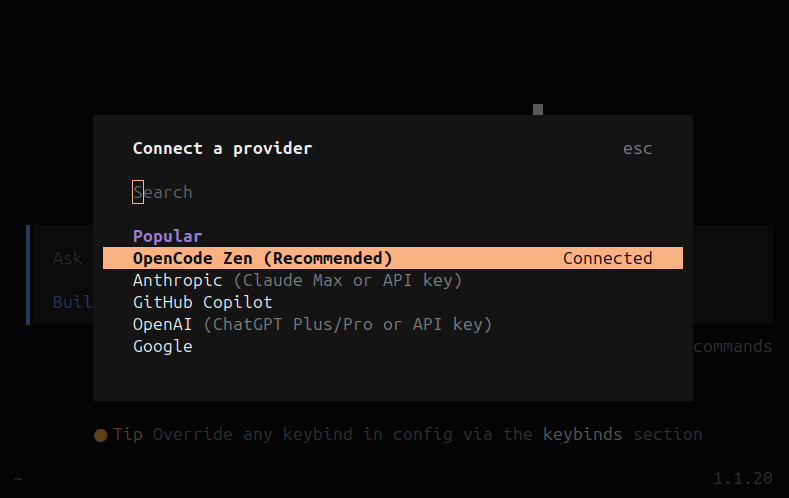
OpenCode Zen provider option
Connecting OpenCode Zen
By default OpenCode is connected to the “OpenCode Zen“ provider option but it is not actually set up yet so we will not be able to code right away. Once we have OpenCode open in our terminal we need to go to https://opencode.ai/auth.
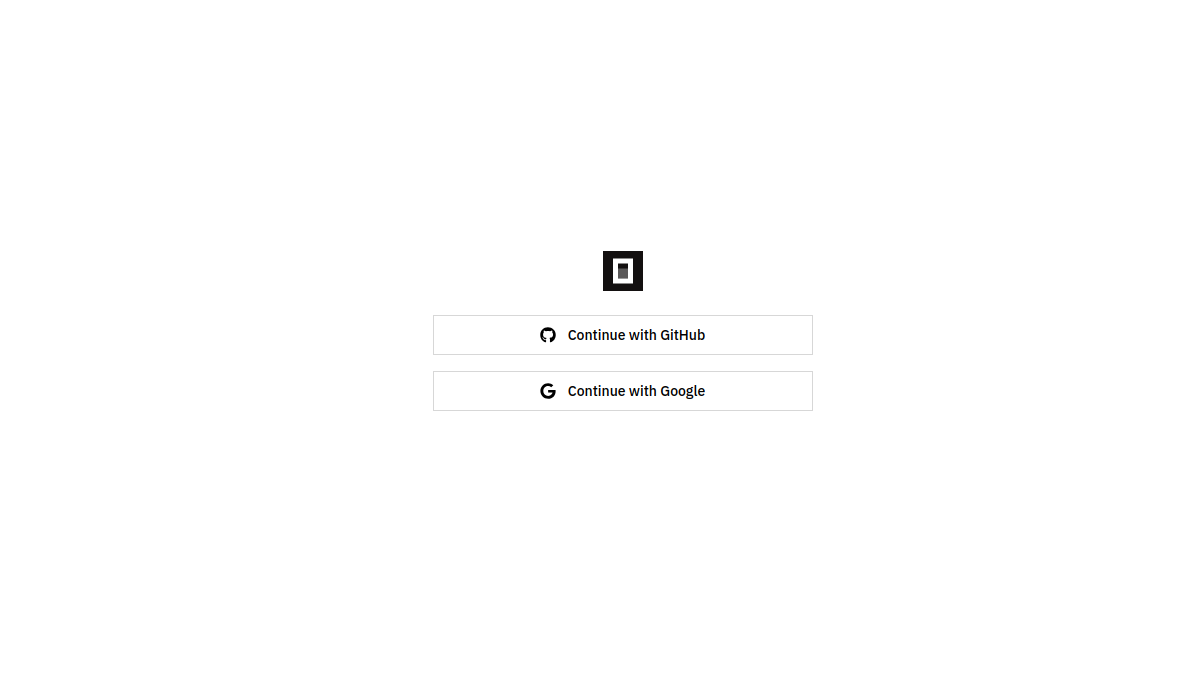
OpenCode Zen authentication
We can authenticate either using Google or GitHub. Choose whichever authentication option you prefer it does not matter as long as you are consistent. You will then be signed in and taken to the Zen dashboard and you will see your Zen API key.
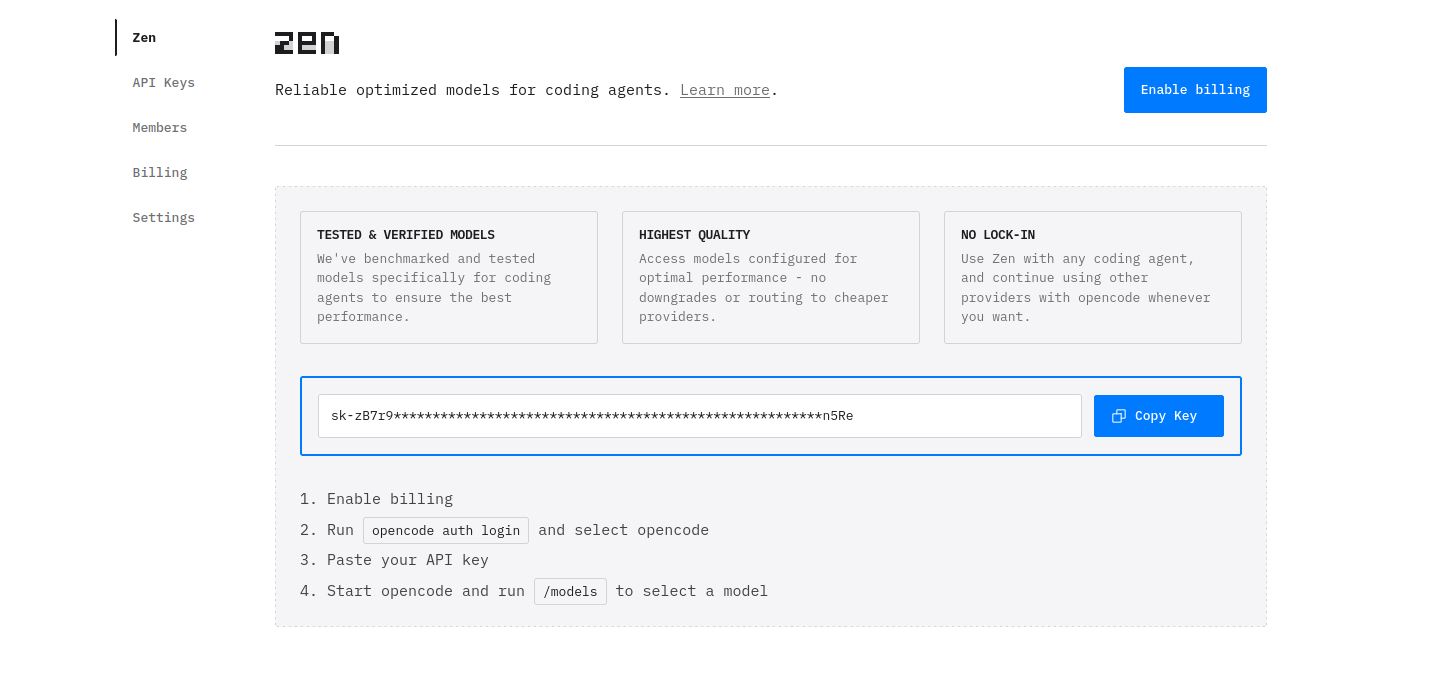
Zen API key
Now we will copy our Zen API key and return to our OpenCode terminal.
If you have not already, type “/connect“ and click on the Zen option. We will then have an input screen pop up that asks us to enter our key. Enter your key here and submit.
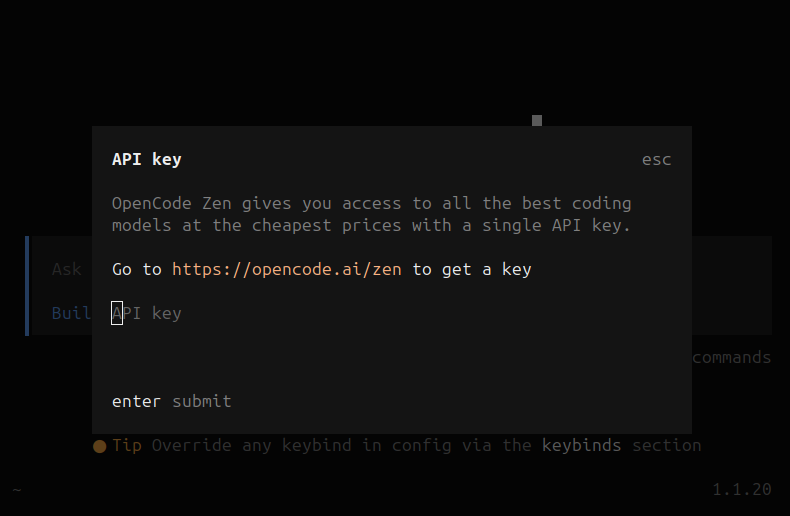
OpenCode Terminal API key input
Once OpenCode Zen is set up and now connected to our API key. We will be presented with some options to choose from. I am going to go with MiniMax but you can choose what you wish.
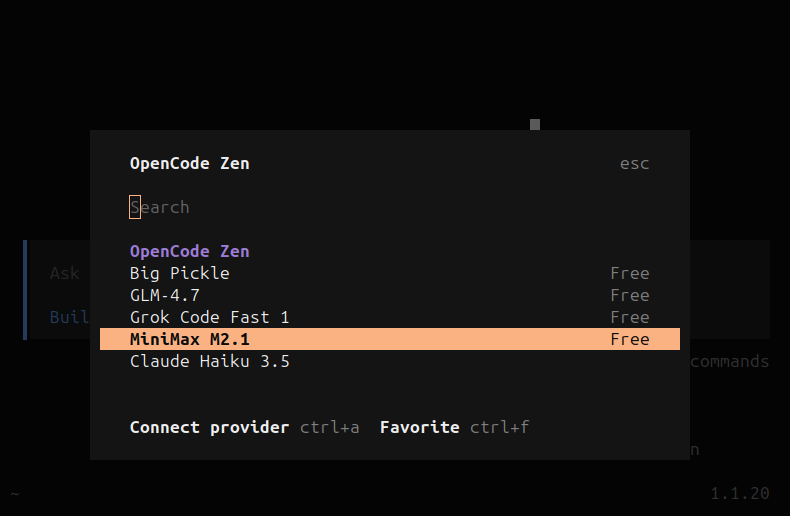
OpenCode Zen provider options
We should be taken back to the main screen and see our selected model with OpenCode Zen. Now we should be ready to build! We can go ahead and close the application.
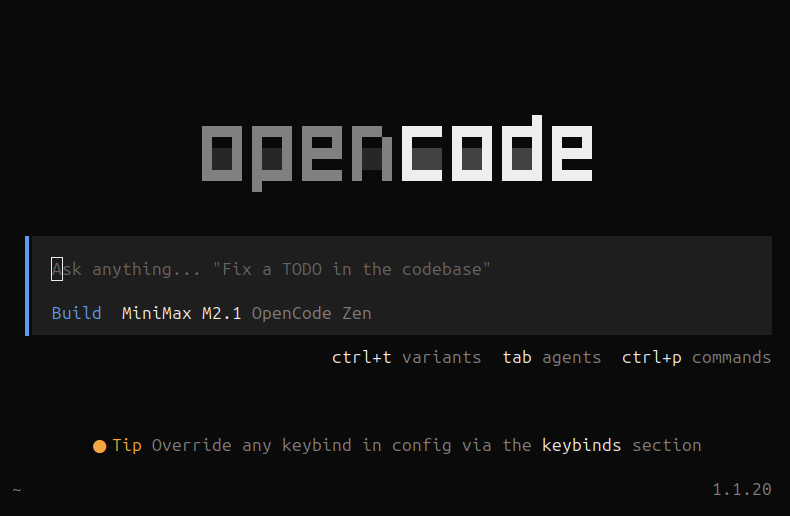
OpenCode terminal UI
Using OpenCode
Now it’s time to test it out. Create a new folder anywhere you want on your computer. I created a folder on my desktop called “test“. You can also create a folder called test on your desktop with the following command:
mkdir ~/Desktop/test
Once you have your folder we can now run OpenCode in our test folder. Just navigate to your test folder if you have not already and open up a terminal. Once your terminal is open launch OpenCode as we have before by typing “opencode“ and pressing enter.
We should see our folder location in the bottom left of the OpenCode terminal UI.
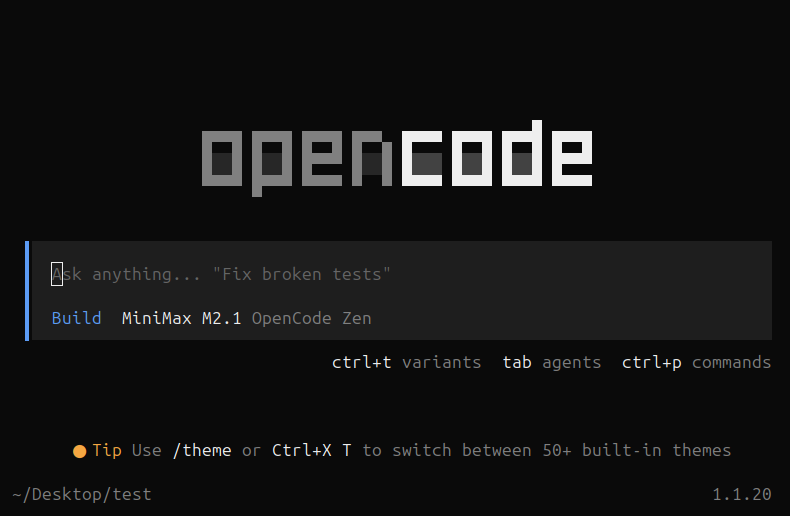
Terminal UI with MiniMax M2.1 with OpenCode Zen
Now we can actually have some real fun and get building. Enter a prompt like “Create a basic flask application“ to get started. The coding agent MiniMax M2.1 is now thinking and will soon create a basic flask application as we have prompted it to do so.
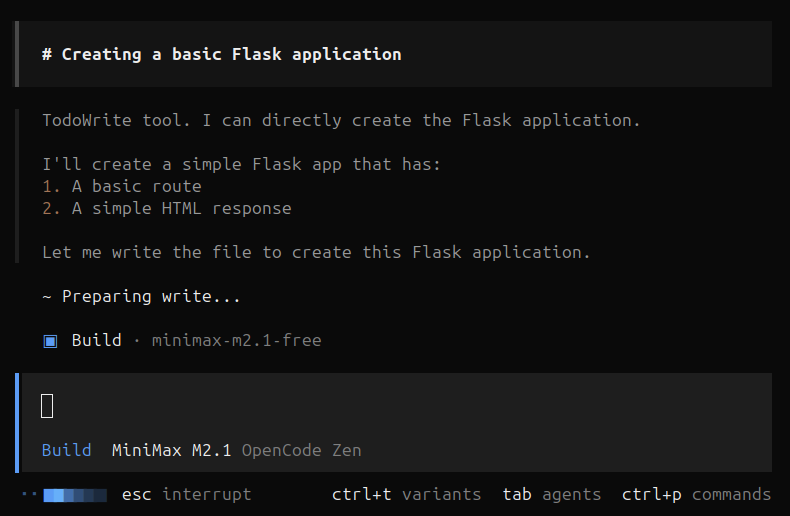
OpenCode agent execution
Looks like its done! lets check the output and see if our application was created successfully. It looks like MiniMax created the flask application successfully but had some trouble importing flask.
Keep in mind coding models cannot do everything let alone correctly. You should consider AI tools as more or less coworkers rather than do everything for you.
This is a very simple fix. The model even provides the correct solution which is using pip to install flask. MiniMax most likely had an issue with a lack of permissions to install the necessary dependencies. This is not necessarily a bad thing.
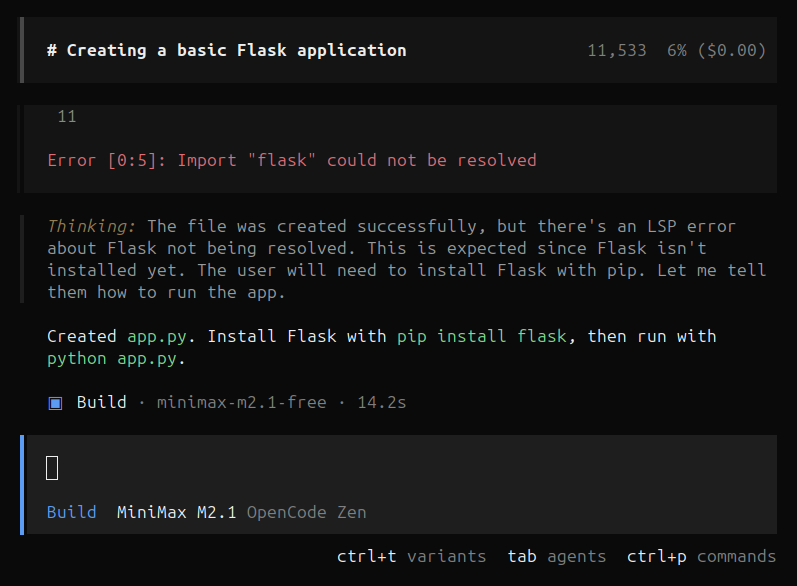
Agent output with flask dependency error
Now lets look at the file MiniMax created. As we can see this looks good! The correct file appears in the correct location.
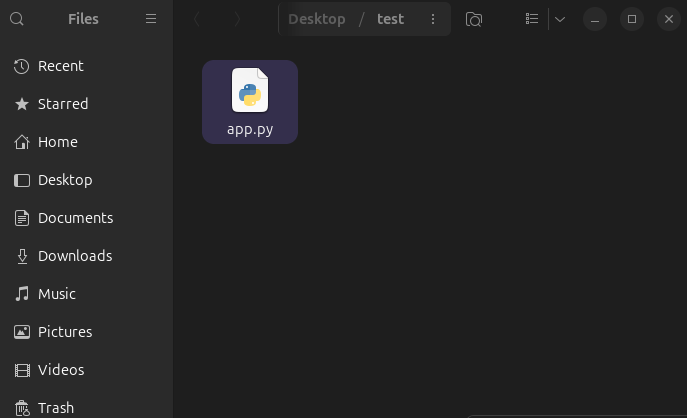
app.py in file view
Now lets check its work further by looking at the contents.
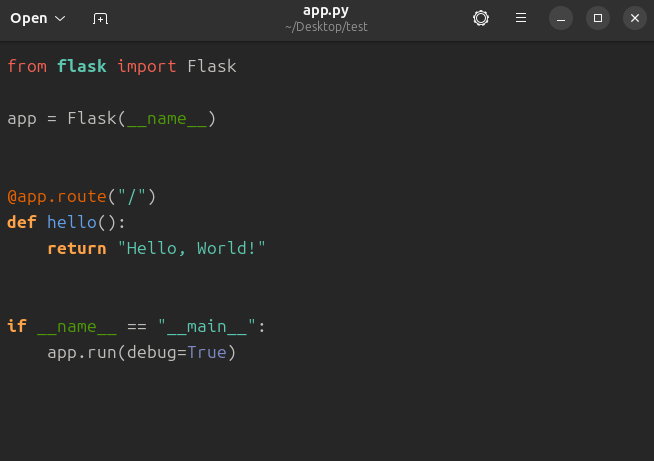
app.py code contents
Looking at the contents of app.py everything looks correct! MiniMax completed its task successfully. From here to verify it works all we will have to do is download the flask dependency and run it.
Open a new terminal in your project folder and run the following commands:
python3 -m venv venv && source venv/bin/activate && pip install flask
After this you should see Flask and its dependencies all installing.
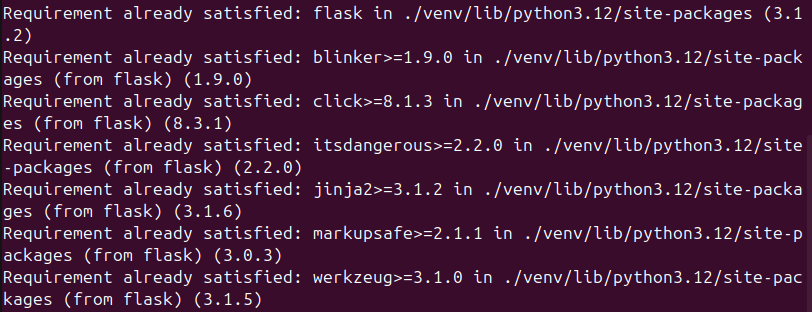
Flask installation
Now that Flask is installed we can run and test our flask app MiniMax created. We need to now run the following command:
python3 app.py
This will launch our flask application on localhost:5000. This is a local development server.
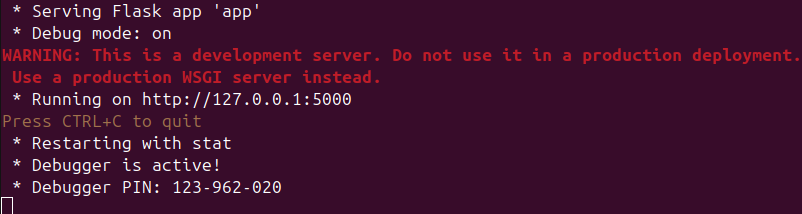
Flask server start
Once this spins up we can head over to our browser and open the link. We should now see our flask application in the browser. If we did this right we should see a “Hello, World!“

Flask hello, world app in browser
You've now successfully installed OpenCode, connected it to an AI provider, and used it to generate a working Flask application. While AI coding agents won't replace developers, they're powerful tools for accelerating repetitive tasks, scaffolding new projects, and exploring unfamiliar frameworks.
As you saw with the Flask dependency issue, these tools work best as collaborative partners, they handle the boilerplate while you provide the oversight and problem-solving. From here, you can experiment with different models through OpenCode Zen, connect your own API keys from providers like Anthropic or OpenAI, or run everything locally with Ollama for complete privacy.
The more you use OpenCode, the better you'll understand how to prompt effectively and when to let the AI handle tasks versus doing them yourself. Check out our other tutorials for more self-hosted development tools and AI infrastructure guides.
Stop renting your digital existence.
Buy a board, spin up a container, take your data back.